
This little transformation started with a dresser that belonged to my mother-in-law when she was a kid. The dresser had been at my husband's grandmother's house for many many years. It was still in good condition but I couldn't see where it would fit into the decor that I had envisioned for our home just as it was. In comes the trusty spray paint....
Here is what this little beauty looked like before:
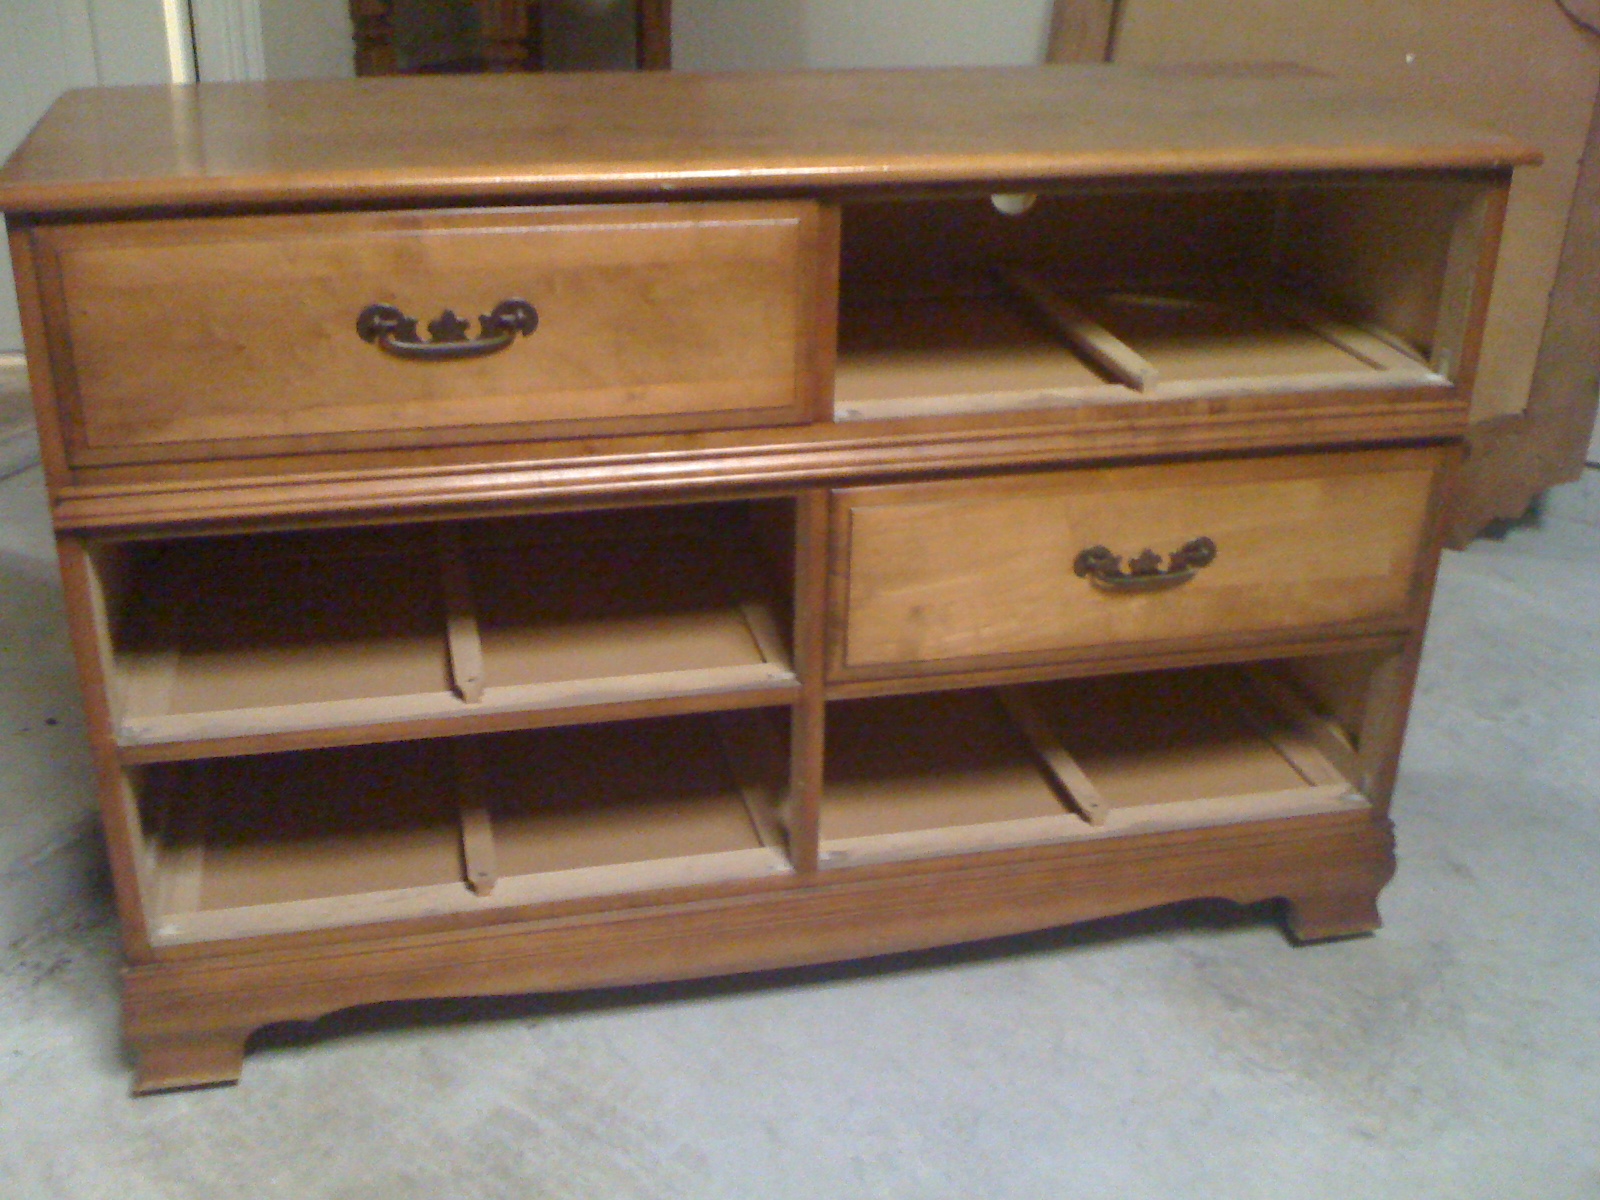
I had already started sanding and painting before I took the pic. What can I say, I was excited!
I started by removing the hardware and using blue painters tape to tape the holes on the inside of the drawer where the hardware was. Then I used wood filler putty to fill the holes and the tape acted as a barrier to keep the putty in place and from falling into the drawer. After setting the drawers aside to let the putty dry I moved on to wiping down the dresser so as to have a clean surface to prime. I used 4 spray cans of Kilz.

By the time I was done priming, the putty on the drawers were dry. And that's when I figured it out. What is "IT" you ask? "IT" is realizing that putty sometimes shrinks when it dries and therefore left more space that needed to be puttied (is that a word? not sure, but I'm going with it) So putty again I did. Side Note: I had to putty the holes because the new drawer pulls had a different hole placement. While the second putty job was drying I went back to the dresser and sprayed it down with this magic stuff...
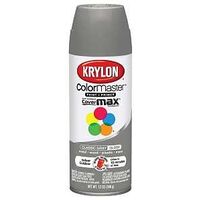
Krylon Indoor/Outdoor in Classic Gray
After sanding down the drawer fronts where I had puttied, then priming and painting the dresser & the drawers I allowed it to dry. I chose the top two drawer openings (sans the drawers themselves of course) as my electronic roosting place. I taped off the exterior area around the openings and painted it black inside. With my handy dandy drill attachment my husband's handy dandy drill attachment I carved out a circle at the back of each opening for any cords to fit through. I just love my drill my husband's drill.


Hey Pretty Girl, MUAH!
When all that was done I applied an antiquing glaze. For this process you brush a bit of glaze over the painted furniture then wipe it off with a clean lint free cloth. You need to work in small areas at a time. It leaves behind a beautiful look.
Now on to the hardware. I searched and searched for something at a great price. I found some at the best price I could on eBay. At least I thought it was the best price until I payed a visit to my local Home Depot. Even though I had a feeling that the Depot would not beat eBay I strolled down the hardware aisle anyway. BOY, am I glad I did. I turned the corner and began to peruse the shiny silvery furniture jewelry. Out of my left peripheral I could see a small box in a bin that looked a bit out of place. (yes my brain grasped all that in a matter of seconds) When I turned and looked and began to read the label I realized it was a clearance box of drawer pulls that was a return from a special order. I don't know if angels hang out at The Depot often but I know I heard a few singing at that very moment. When I read the price I wasn't too, too tickled but it was still a pretty good deal. But man-o-man did I turn pretty good to really great. I approached the department guy and with a bit of humor and a lot of patience (and a call the Asst. Store Mgr.) I walked out paying half off the clearance price. Only $1.33 each times 18 drawer pulls. That's the exact number I needed since I am refurbishing a chest of drawers also.


Look at that slashed price on the tag. A beautiful site to behold!


Using this plastic guide that I got from The Depot I marked the new holes for the drawer pulls and got out that sexy lil' drill again. (heart pounds in anticipation)

Next, I drilled the new holes and screwed in the new pulls.
Aaaaaaand Noooow.......

Voila!
The top first set of drawers look like 4 long drawers and 4 tiny drawers but it's actually 2 regular size drawers made to look that way.
Tell me what you think ;0)
Stay tuned to see the full transformation of the entire entertainment center area...
Later Folks :0)
I love the pulls! Good job!
ReplyDelete